Brewing your beer is a rewarding experience, but the cost of buying new bottles for each batch can add up quickly. Fortunately, eco-conscious brewers have a secret weapon: reusing bottles! Not only does it save money, but it also reduces waste and contributes to a more sustainable brewing practice. But how do you effectively clean and reuse bottles for your homebrew without compromising quality or taste? This guide will equip you with the knowledge and techniques to transform used bottles into sparkling vessels for your delicious creations.

Step 1: Choosing the Right Bottles
Here’s what to look for:
Type
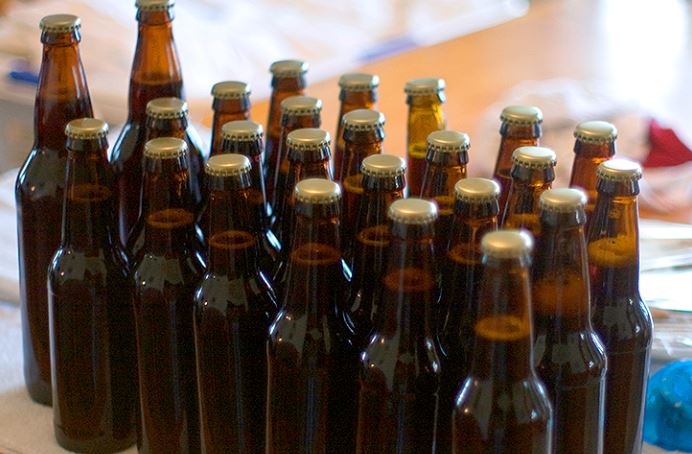
Opt for clear glass bottles with sturdy bases and continuous, uncapped lips. Avoid twist-off caps, as they are prone to leaks. Popular choices include standard 12oz and 22oz beer bottles or swing-top bottles.
Condition
Inspect for cracks, chips, or scratches, as these can harbour bacteria and compromise sanitation. Choose bottles in good condition, free of any internal residue or dirt.
Step 2: The Art of Pre-Cleaning
Before deep cleaning, give your bottles a preliminary rinse to remove loose debris and leftover beer. Use warm water and a generous amount of dish soap, swirling it around to loosen any stubborn residue.
Step 3: Deep Clean Powerhouse
Now, it’s time for the main event! Here are two effective methods for deep cleaning your bottles:
Hot Water & Sanitizer
- Fill a large pot with water and bring it to a boil.
- Add a brewing sanitiser according to the manufacturer’s instructions.
- Submerge your rinsed bottles in the hot sanitiser solution for 5-10 minutes.
- Use tongs to carefully remove the bottles and let them cool on a sanitized drying rack.
PBW & Soaking
- Prepare a solution of PBW (powdered brewery wash) according to the package directions in a large container.
- Submerge your rinsed bottles in the PBW solution and soak for at least 20 minutes.
- Scrub the inside of each bottle with a dedicated bottle brush, paying special attention to the base and lip.
- Rinse thoroughly with clean water and allow to air dry on a sanitized rack.
Dishwasher Power
- Run your rinsed bottles through a hot water cycle in your dishwasher (without detergent). This is a convenient option for a large batch of bottles.
- Follow with a sanitizing rinse using a brewing sanitiser solution.
DIY Steamer
- Build a simple steamer setup using a pot, colander, and cheesecloth.
- Place your rinsed bottles upside down in the colander and steam them for 5-10 minutes.
- Let them cool and dry completely before sanitizing.
Step 4: Label Removal (Optional)
Removing labels can be tedious, but it creates a cleaner aesthetic for your finished product. Here are two methods:
Soaking
Soak labels in warm water with dish soap for 15-20 minutes. The glue should loosen, allowing you to peel them off easily.
Scraping
Carefully scrape off labels with a razor blade or scraper, taking care not to damage the glass.
Step 5: Final Touches
Before filling your containers, give them a final inspection for any remaining residue or imperfections. Store them dry and covered until bottling day.
Bonus Tips
- Dedicate a specific brush and container for cleaning containers to avoid cross-contamination.
- Consider investing in a bottle capper and caps for a professional-looking finish.
- Reuse caps from commercial beers if they are in good condition, but sanitize them thoroughly.
- For stubborn labels, try soaking them in a vinegar and water solution.
By following these simple steps, you can successfully clean and reuse containers for your homebrew, saving money and reducing your environmental impact. So, next time you finish a delicious beverage, consider giving its bottle a new lease on life as a vessel for your next brewing masterpiece!
Remember, brewing is a journey of continuous learning and experimentation. Don’t be afraid to tweak these methods and find what works best for you. Cheers to sustainable and delicious homebrewing!